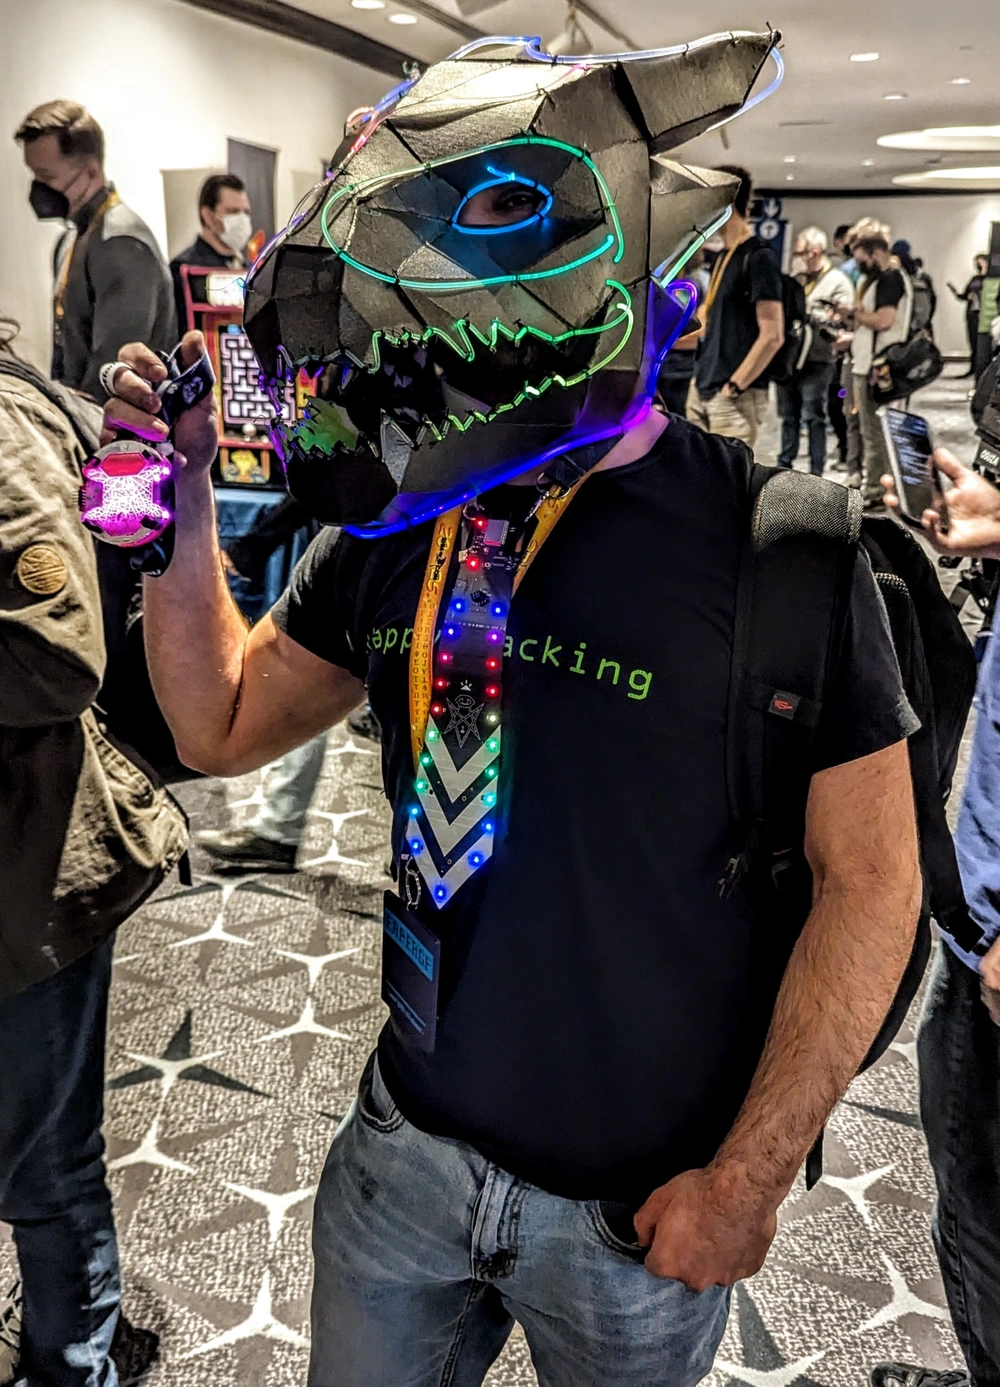
NorthSec 2024 Badge: How-to Level It Up
Hardware badges are cool when they are super blinky! However, at NorthSec, we give you a badge with little blinkyness power to start with. You see, a core component of NorthSec’s recent #badgelife design is that you need to socialize by connecting to other badges to level-up and gain more LED blinking patterns. But when the event is over, you have less opportunities to upgrade your badge. This blog post aim to fix this.

ShmooCon 2025 badge enthusiast to whom I’ve just given a NorthSec 2024 badge
So, here are some simple notes on how to level-up the NorthSec 2024 badge to a high level.
There are many approaches to level-up the badge. Being a busy person, I took the most straightforward path: changing constants in the code, recompiling and reflashing my badge. Alternative methods without source code access would be cool to document, let me know if it exists out there, I would link to it here.
Let’s Get Started!
First, the code to NorthSec’s hardware badge has always been open source so we can clone this repository. Make sure to grab the 2024 branch!
$ git clone https://github.com/nsec/nsec-badge.git
$ cd nsec-badge/
$ git switch -c 2024 origin/2024
Browsing around the code, I found an intriguing set of configuration parameters in the file components/utils/config.hpp:
namespace nsec::config::social
{
constexpr uint8_t initial_level = 0;
constexpr uint8_t max_level = 200;
constexpr uint8_t multiple_badges_discovered_simultaneously_multiplier = 2;
} // namespace nsec::config::social
What if we hardcode our initial_level to something like 185? Here is what this file should look like after doing so:
namespace nsec::config::social
{
// OB: override default level
//constexpr uint8_t initial_level = 0;
constexpr uint8_t initial_level = 185;
constexpr uint8_t max_level = 200;
constexpr uint8_t multiple_badges_discovered_simultaneously_multiplier = 2;
} // namespace nsec::config::social
I created a patch if you prefer.
Apply with patch -p1 < increase-default-level.diff.
Now let’s build the firmware and flash it to our badge following instructions:
> virtualenv .venv
> . .venv/bin/activate.fish    # remove .fish suffix if you are using bash
> pip install platformio
> pio run -e conference
I got errors about a missing pip binary but after installing python3-venv and running it again, it worked.
[...]
Building .pio/build/conference/firmware.bin
esptool.py v4.5.1
Creating esp32s3 image...
Merged 2 ELF sections
Successfully created esp32s3 image.
[...]
Plug in the badge and power it on. Then flash it:
> pio run -t upload -e conference
[...]
Writing at 0x000a97f2... (84 %)
Writing at 0x000b2b62... (88 %)
Writing at 0x000b9836... (92 %)
Writing at 0x000bef31... (96 %)
Writing at 0x000c49ef... (100 %)
Wrote 750400 bytes (400464 compressed) at 0x00010000 in 4.7 seconds (effective 1289.5 kbit/s)...
Hash of data verified.

Leaving...
Hard resetting via RTS pin...
[...]
Here is a video where I flashed a badge:
If you are following these instructions, what you will realize is that even if you set the initial level to 185, the badge is still level 1.
Looking at the code, it happens because it is reading the level value from configuration and flashing the badge doesn’t erase the configuration section.
Let’s factory reset the thing. The Makefile has a factory reset command:
factory_reset:
        esptool.py --chip esp32s3 --port /dev/ttyACM0 erase_region 0x310000 0x100000
Let’s try:
> make factory_reset
esptool.py --chip esp32s3 --port /dev/ttyACM0 erase_region 0x310000 0x100000
make: esptool.py: No such file or directory
make: *** [Makefile:38: factory_reset] Error 127
We are missing the esptool.py it is available via pip.
Let’s try again but installing Esptool first:
> pip install esptool
[...]
> make factory_reset
esptool.py --chip esp32s3 --port /dev/ttyACM0 erase_region 0x310000 0x100000
esptool.py v4.8.1
Serial port /dev/ttyACM0
Connecting...
Chip is ESP32-S3 (QFN56) (revision v0.2)
Features: WiFi, BLE, Embedded PSRAM 8MB (AP_3v3)
Crystal is 40MHz
MAC: dc:da:0c:58:05:f0
Uploading stub...
Running stub...
Stub running...
Erasing region (may be slow depending on size)...
Erase completed successfully in 0.6 seconds.
Hard resetting via RTS pin...
And the badge starts shining instantly! See a video of it in action including a bonus pairing just for fun:
Now your NorthSec badge can flex many LED blinking patterns. Enjoy #badgelife!